How to connect PayPal to Billune
PayPal is a great addition alongside Stripe — some clients prefer paying with their PayPal balance or don't want to type a card into a new site. Available in 200+ countries.
PayPal fills a specific niche: clients who prefer the familiarity of paying with their PayPal balance, or those in countries where Stripe isn't available. Even if you already have Stripe connected, adding PayPal typically lifts payment completion by a few percentage points because it removes the "is this site trustworthy enough to type my card into?" hesitation.
Connecting is a two-step process on PayPal's side: create a REST app in the PayPal Developer dashboard, then copy the Client ID and Secret into Billune. The whole thing takes about 4 minutes.
- 01
Create a REST app in PayPal Developer
Sign in to https://developer.paypal.com/dashboard/applications. Under Apps & Credentials, switch to Live and click Create App. Give it a name like "Billune Invoices" and select your business account. If your PayPal account is not yet KYC-verified for live payments, PayPal will only let you create a Sandbox app — that's fine for testing; switch to Live once verified.
- 02
Copy Client ID and Secret
Once created, PayPal shows a Client ID (starts with
A...) and a Secret (starts withE...). Copy both. Keep them somewhere safe — PayPal shows the Secret exactly once, and you'd have to regenerate it if you lose it. - 03
Enter them into Billune
In Billune, Settings → Payment Accounts → Enter API keys on the PayPal row. Paste both values, choose Live (or Sandbox for testing), then click Verify & connect. Billune requests an OAuth token from PayPal — success means the credentials work.
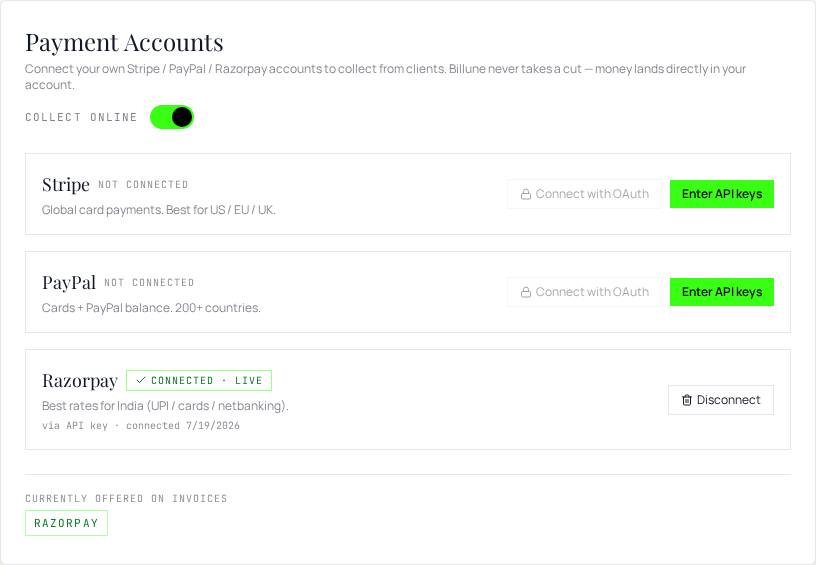
- 04
Test with a small invoice
Create a $1 invoice → set gateway to PayPal → send it to yourself → complete the PayPal checkout. The invoice should mark paid within seconds of PayPal confirming the capture. If it doesn't, double-check that your PayPal account is verified for live receiving (not just sending).